
How To Use HueTools
How to capture images?
1
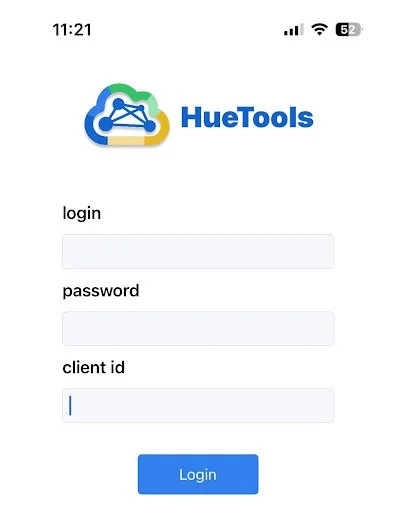
High fidelity images are captured with HueTools Mobile Application
Download HueTools Mobile - Link App Store (iPhone 11 and up). Login with HueTools username, password and client id (Sign Up with HueTools Web)
Which Card Capture Should I Use?
2
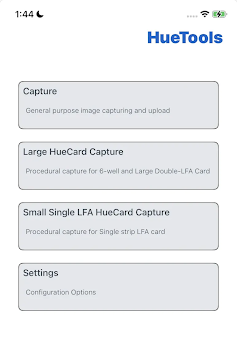
Regular Capture Mode (No HueCard Required)
Capture images without color correction.
Best for early-stage development to observe raw color gradients and evaluate whether lighting normalization is needed.
HueCard Capture Modes (Requires HueCard)
Capture images using HueCards to normalize lighting for accurate quantitative analysis.
Large HueCard Mode
6-Well Vertical Flow Card – analyze up to 6 vertical flow assays.
Double Dipstick LFA Card – analyze 2 lateral flow strips.
Small HueCard Mode
Single Dipstick LFA Card – analyze one 3mm lateral flow strip
Designed for R&D and assay optimization, often leading to custom HueCard formats once the assay design is finalized.
Where Can I Buy Development HueCards?
3
Can you make a custom HueCard?
4
If none of the available HueCard form-factors work for your specific assay, please reach out to customize!
Where Can I Find my Images?
5
Images captured on HueTools Mobile are available on HueTools Web on the Explore Results Page and can be filtered if required.
How Do I Color Correct Images?
6
HueCard based images can be color-corrected to bring to standard illuminant conditions before ROI processing, signal detection and model development. Select the image to color-correct on the Explore Results Page. On the Image Pop-up, select the card-type in the drop-down and click the color-correct Image button. Your color-corrected image will be available on the Explore Results Page. Upon Clicking, you will be able to see the color-corrected version of the image. For more information on how color-correction works to normalize ambient lighting conditions, read our peer-reviewed article and our feature in The Pathologist.
How to Select your (ROI)
7
Coming Soon!