
Which Imaging Mode Should You Use in HueTools?
A practical guide to choosing the right capture modality for your lateral flow assay
Whether you're in the early stages of assay development or preparing for a high-throughput field deployment, one of the most important decisions you'll make in HueTools is selecting the right capture mode. Choose well, and you'll get clean, reproducible data. Choose poorly, and lighting variability or the wrong card format can quietly undermine your results.
This guide walks you through each option so you can make a confident, informed call.
Start With a Simple Question: Do You Have a HueCard?
HueTools is built around two core philosophies: flexibility for researchers and precision for deployment. Those two goals map directly onto two families of capture modes — Regular Capture and HueCard Capture. Which family you belong to depends less on the complexity of your assay and more on where you are in its lifecycle.
Regular Capture Mode (No HueCard Required)
If you don't have a HueCard yet — or you're deliberately choosing not to use one — Regular Capture Mode is your starting point.
In this mode, HueTools captures images as-is, without applying any color correction or lighting normalization. The image you get reflects the raw optical output of your assay under whatever ambient conditions exist at the time of capture.
Don't have a HueCard yet? You can pick one up in the HueDx shop and get started with color-corrected captures right away.
When Regular Capture Mode makes sense:
- You're in early-stage R&D. At this point, you're asking broad questions: Does the assay produce a visible signal? Is there a clear gradient between negative and positive results? Does the signal look consistent across replicates? Regular Capture Mode lets you observe and evaluate these raw color gradients without any processing layer in the way.
- You want to assess whether lighting normalization is even necessary. Some assay formats — particularly those with very high signal-to-noise ratios or those used exclusively in highly controlled lab environments — may not need color correction at all. Running captures without a HueCard first helps you build that evidence base.
- You're prototyping quickly. When speed matters more than absolute quantitative accuracy, Regular Mode removes the friction of requiring additional hardware.
The trade-off: Without color correction, your results will be sensitive to ambient lighting changes. A result captured under fluorescent lab lighting will look meaningfully different from one captured near a sunny window. For qualitative screening this may be acceptable; for quantitative analysis, it typically is not.
HueCard Capture Modes (HueCard Required)
Once your assay design begins to mature — or if quantitative accuracy is a requirement from day one — you'll want to move into one of the HueCard Capture Modes.
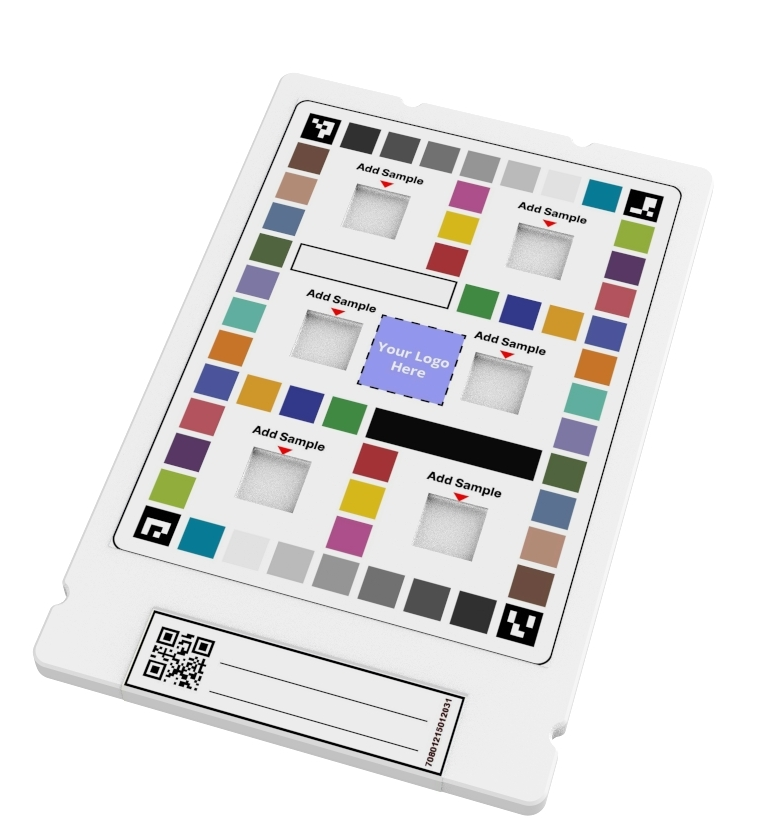
HueCards are reference cards embedded in the image frame at the time of capture. HueTools uses the known color values on the card to correct for lighting variability in real time, normalizing each image to a consistent standard. The result: data you can compare across devices, operators, locations, and time points.
There are two HueCard modes, and they differ by the physical card format you're working with.
Large HueCard Mode
- 6-Well Vertical Flow Card — captures and analyzes up to six vertical flow assays simultaneously in a single image
- Double Dipstick LFA Card — captures and analyzes two lateral flow strips side by side
If your workflow involves batched testing — whether for multiplexed diagnostics, parallel condition comparisons, or simply processing higher sample volumes — Large HueCard Mode is your tool. The larger card footprint provides a robust color reference field, which can improve normalization accuracy in challenging lighting environments.
Small HueCard Mode
- Single Dipstick LFA Card — captures and analyzes one 3mm lateral flow strip
When you're working one strip at a time — common in point-of-care settings or focused assay validation runs — Small HueCard Mode keeps things compact and streamlined without sacrificing color correction.
How to Think About Progression
- Explore with Regular Capture. Get eyes on raw signal. Evaluate assay feasibility.
- Validate with Small HueCard Mode. Introduce color normalization and start generating quantitative data.
- Scale with Large HueCard Mode. Move to multi-strip or multi-well formats as throughput grows.
- Transition to a Custom HueCard. For finalized designs heading toward commercialization, HueDx can develop a custom card for your format.
The Bottom Line
There's no single "best" capture mode — only the right mode for where you are in your development journey. Not sure which HueCard format fits your assay? Contact the HueDx team — or browse available HueCards in the HueDx shop.
HueTools is developed by HueDx. Learn more at huedx.com.